Saturday 3 July 2010

Wednesday 12 May 2010

Solarized Developer prints

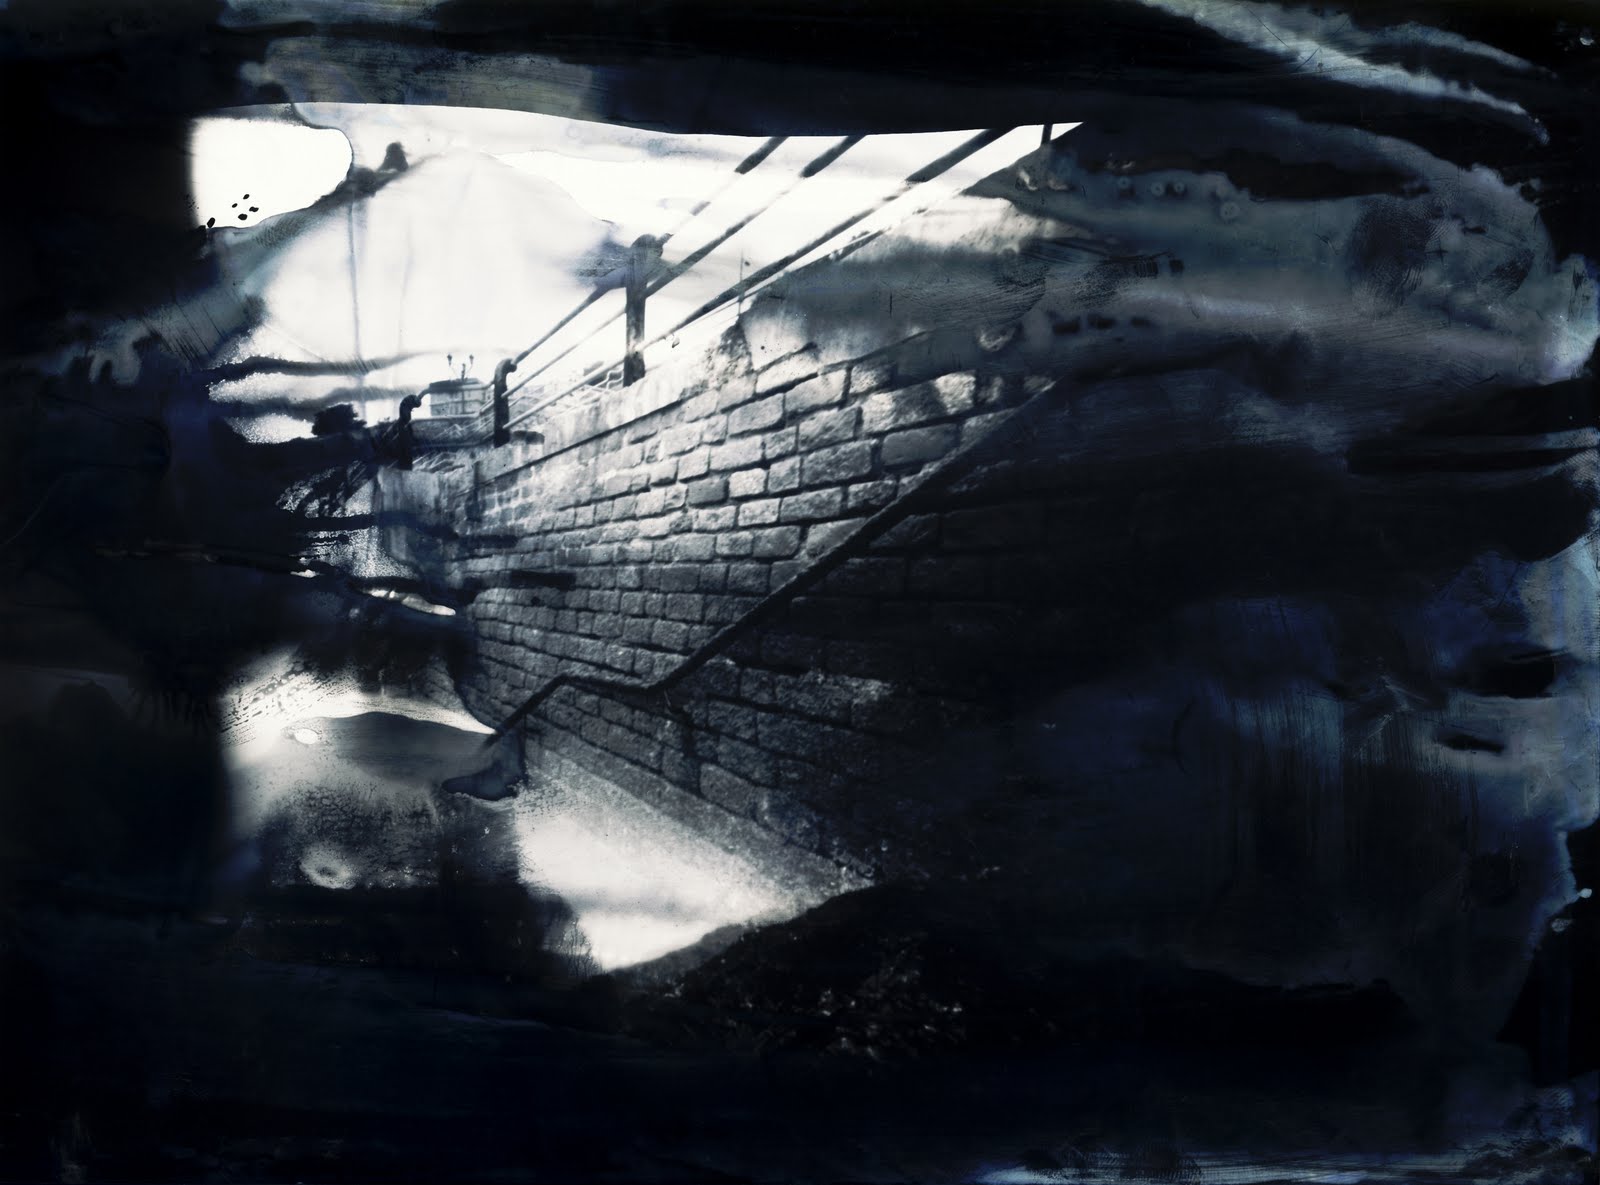
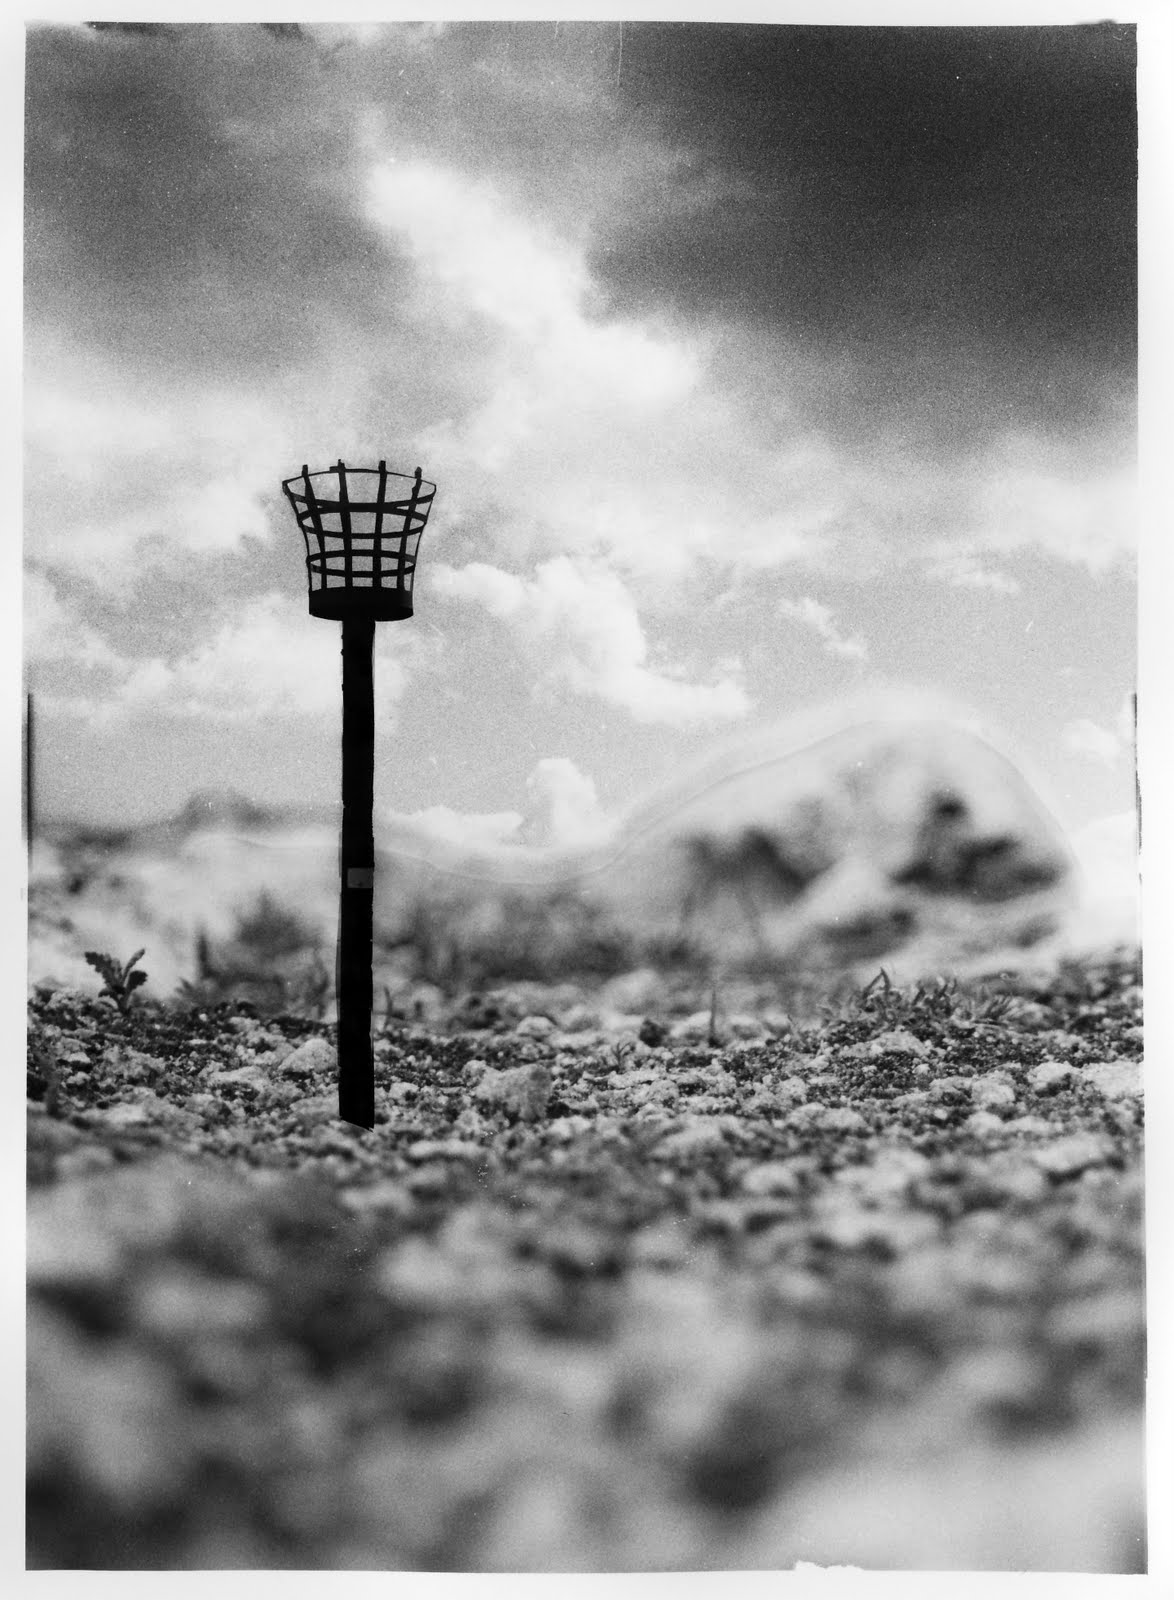
For his image that I took at Dawlish, once back in the dark room I developed my print a little more then placed it in the stop for 10 seconds and then took it out into the light to solarize it. This gives the print a purple tone, once back in the dark room i put them straight into the wash bypassing the fix, as the fix turns it brown. This means the print is always changing from then on, I then scanned the paper neg into photoshop where i adjusted the brightness & contrast and curves, this can be seen on the bottom image of these two.

Dawlish

Here are a few images I captured at Dawlish, the bottom image has been ran through the fix quickley before developing it.


Friday 7 May 2010

Thursday 6 May 2010

More Developer Pinhole images


Here are a couple images I have just made using the same technique as i did with the images below, By painting developer onto my photo paper before exposing it, the prints develop inside the camera and cause all kinds of markings to occur on the print. I like this because it give the images another dimension of texture, these images were made using matt paper as appose to glossy as i used for the previous images; this dose not produce such a strong effect of texture, so i will be going back to using glossy paper for my next images.